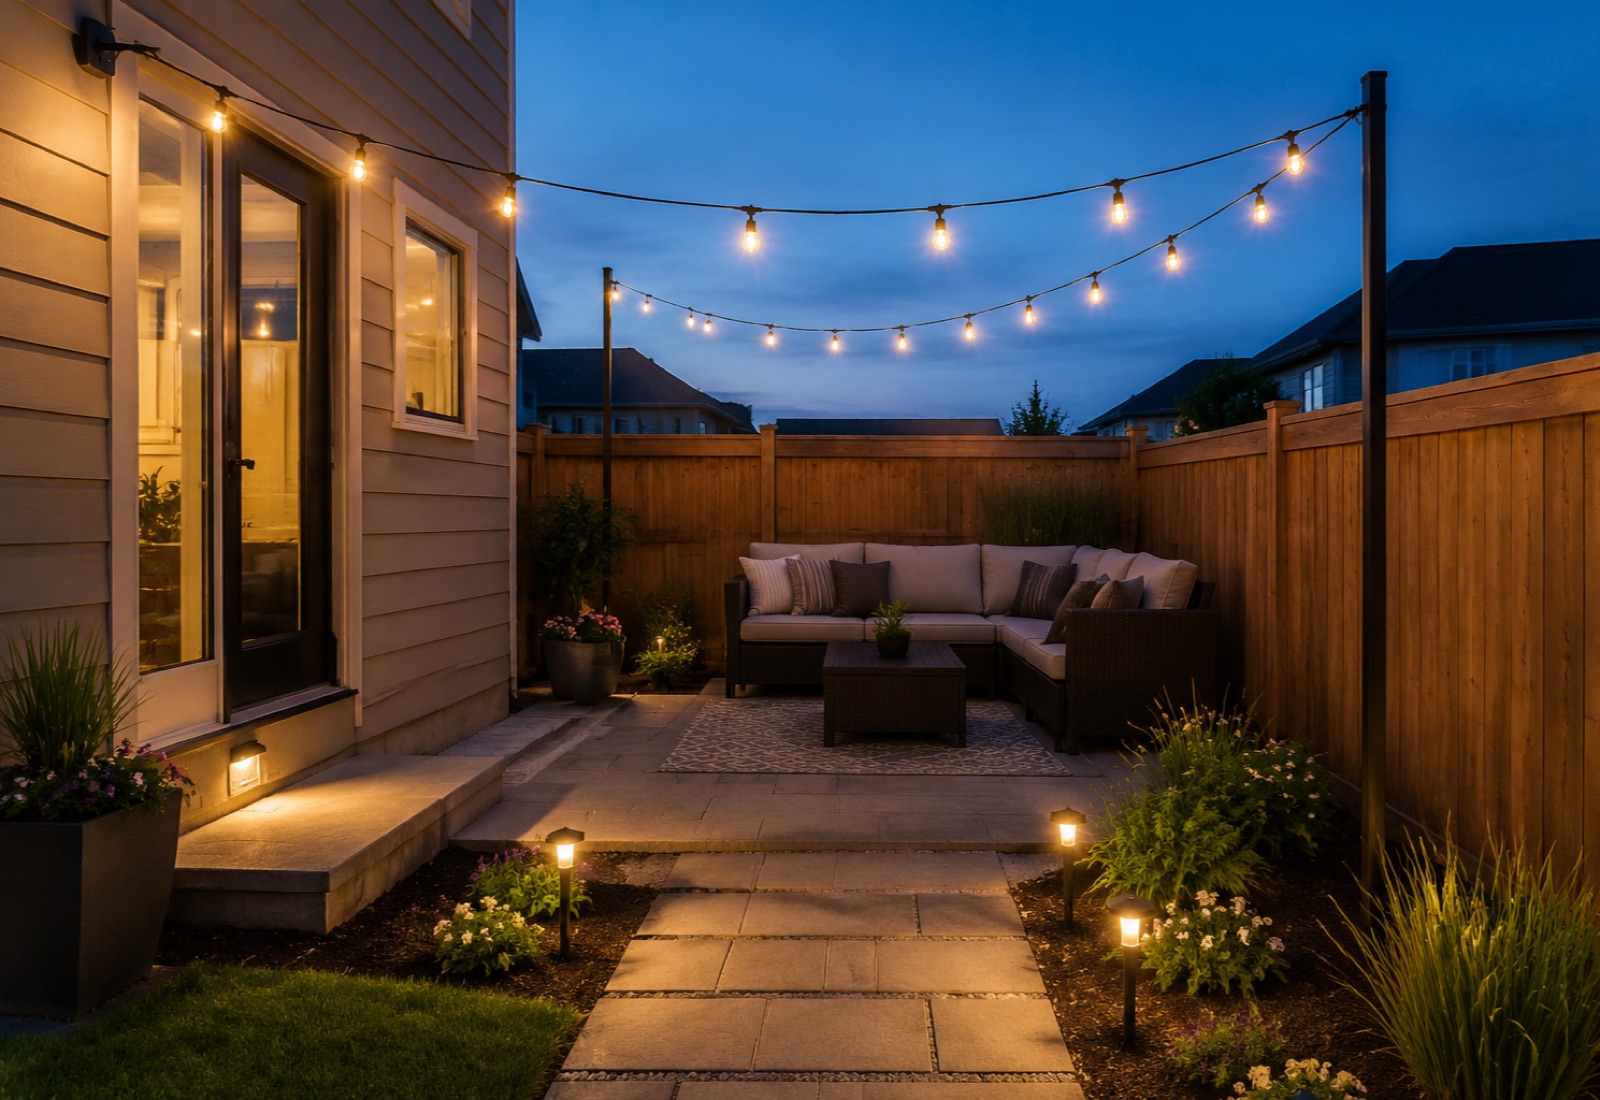
A patio can look fine in daylight and disappear after dinner. The fix is rarely one bright floodlight. Give each light one job: help people see the route, make the seating area comfortable, or mark a step and edge.
You may not need all three layers. If the path to the door disappears after sunset, path lights matter before string lights. If the route is already clear but the table feels flat and cold, one warm overhead line may be enough.
Measure the night route first
Walk the patio after dark before you shop. Stop at the first place where you slow down, reach for a wall, or feel unsure about a step. That is the spot the light should solve. Do not start with a bulb shape or a product bundle.
Write down four things: the seat or door you want to protect, the path feet actually take, the nearest safe support or mount, and where the power or solar panel can live without crossing a wet route. This small worksheet keeps the project focused on one useful fix instead of a decorative upgrade that still leaves the dark spot in place.

Patio lighting ideas by the job they solve
| Dark spot | Start with | Check first | Skip it when |
|---|---|---|---|
| Seating or dining area | Warm string lights | Allowed anchors, span, lowest point, and outlet | There is no safe support line or the wire crosses the main path |
| Walk from gate to door | Path lights | Actual foot route, spacing, shade, and wire path | A house light already shows the route clearly |
| One step, rail, or edge | Low step or wall light | Mounting surface, glare, and beam direction | The light would shine into eyes or neighboring windows |
| Sunny route with no outlet | Solar path lights | Panel exposure, the model's charging instructions, useful runtime and battery access | The panel is shaded or the light fades before the route is finished |
| Table used only sometimes | Portable table light | Stable surface, outdoor rating, charging, and storage | A fixed light already reaches the table |
Choose the power source after the light layer
Solar lighting is the easiest fit when the space is sunny and you mainly want a path marker. It is a weak fit for shaded corners, under a roof overhang, or a route that needs the same brightness every night. Low-voltage lighting is the more dependable option for nightly use when you can place a transformer and wire cleanly. Plug-in string lights make sense when a suitable outdoor outlet and a secure support line are both available.
- Choose solar when the panel can stay in sun most of the day.
- Choose low-voltage when the same route needs light every night.
- Choose plug-in string lights when the support line and outlet are both safe.
- Choose portable light when you only need occasional table light.
Original worksheet · one light, two conditions
Will solar still light the route when you need it?
Do not buy a bundle from a dusk photograph. Record the panel's actual location during daylight and check the useful light at your last trip outside. A panel beside a sunny patio can still sit under a chair, eave or shrub. There is no single charging-hour rule that makes every solar light suitable.
- Define the job. Name one destination and the latest time it needs light. A glowing marker is not the same as seeing a tread or obstacle.
- Map the panel, not the bulb. Check it in the morning, around midday and in the afternoon. Note when shade begins and ends; three snapshots alone do not establish total hours. Compare the observed exposure with that model's instructions, including panel direction and charging setup.
- Use one correctly installed sample if available. Follow its initial charging instructions. Keep existing essential lighting available. From a safe position, check the path at dusk and again at the needed end time; never walk an unlit stair to test it.
- Repeat after less favorable weather. Label a clear-day result as clear-day only. Winter sun, shade and longer nights can change the result. Do not infer all-season reliability from one evening.
Your sun-to-night record
Type notes or print this record. Entries are not submitted or saved by this page; copy them before leaving. This is a planning record, not a lighting-code or safety certificate.
Read the failure before buying more lights
Bright at dusk, dim too early
Check charging setup, panel dirt or shade, battery guidance and the selected mode. More identical lamps in the same shade do not solve the power mismatch. If the route must work nightly, compare a properly installed wired option.
Light lasts, but the step disappears
This is a coverage problem. Change aiming or choose a step fixture designed for that surface. A row of decorative points does not prove that feet can see the tread.
Bright from the chair or neighbor's window
Re-aim, shield or lower output before adding another layer. Keep light on the intended surface. Do not use a brighter floodlight to compensate for poor placement.
No usable panel or wire route
Do not force the purchase. Keep the existing safe access route and get a suitable installation plan. For occasional seating only, a stable outdoor-rated portable light may avoid a permanent installation.
Worked decision, not a product test: a panel shaded from midday and a lamp that fades before a 10 pm gate trip have not met the job. Moving the panel can be tested only if the product allows it. Otherwise change the power plan; buying a larger pack is not the next experiment.
Resolve standing water and the walking route before routing equipment, and include supports and electrical work in your small-yard project budget.
The placement checks follow DarkSky and IES lighting principles: use purposeful, directed light without unnecessary spill. The record and worked decision are Small Yard Starter planning tools, not laboratory measurements. Ask a qualified electrician about new wiring, outdoor outlets and local requirements.
String lights without trees: check the support line first
A backyard without trees can still use string lights, but the support plan comes before the bulb style. A house mounting point, freestanding poles, or a separate frame may work when the product and the structure allow it. Do not assume a gutter, planter, thin railing, or fence board can carry the line.
- Measure every anchor-to-anchor span and count each turn in the route.
- Check the lowest planned point over the patio and walking path.
- Look at wind exposure and follow the light and support manufacturers' mounting, load, and support-wire instructions.
- Plan the plug and cord route without crossing a doorway, step, or wet walking surface.
- Use outdoor-rated electrical equipment and follow local electrical requirements.
If there is no suitable support line, skip overhead lights for now. Path, step, wall, or portable table lights can still make the patio useful without forcing an unsafe anchor.
Three different jobs
One product for each useful light layer
These links open product searches, not tested winners. Select one role after the site check. Confirm current instructions, dimensions, outdoor rating, controls and replacement parts; we have not tested a particular model.
Seating atmosphere
Outdoor string lights
Compare lit length separately from lead-cord length. Check the permitted span, support requirements and dimmer compatibility. Skip this role without approved anchors; it does not replace step lighting.
Nightly walking route
Shielded low-voltage path lighting
Compare the beam on the actual walkway, transformer compatibility, cable route and total load. This avoids dependence on the panel's daily charge but still requires correct installation. Skip it if an existing house light already covers the route.
One tread or edge
Shielded outdoor step light
Check mounting depth, substrate, power supply and downward coverage of the tread. A glowing decorative dot is not a substitute for seeing the step. Skip an incompatible mount; do not drill structural or waterproof surfaces without an approved plan.
Check these details before you buy
Check these details before adding anything to the cart:
- outlet location and weather protection
- direct sun at the solar panel
- wire and walking routes
- allowed mounting points and full span
- glare from the house and neighboring windows
- replacement bulbs, batteries, and winter storage
Common failures to avoid
- Sagging string lights that dip into the walking route.
- Solar lights placed in shade and blamed for weak brightness.
- Too many path lights that turn the patio into a runway instead of a usable space.
- Wall lights that point into windows or faces instead of the ground.
- Extension cords or plugs that cross a doorway, step, or wet route.
Do one night test before buying more
- Turn on one proposed light or hold one portable light at the planned height.
- Walk the route from the gate to the door and sit in the main chair.
- Check whether you can see the next step without glare in your eyes.
- Only add a second layer if the first one leaves a real dark gap.
When to skip or downgrade
Skip smart controls until the basic light placement feels right.
Skip solar lights in shaded corners, even if the photos look easier. Downgrade from low-voltage kits if you only need occasional dinner light. Upgrade to low-voltage when you walk the same path every night and need reliable light, not just atmosphere.
Fast setup order
- Stand at the door after dark and note the first unsafe or awkward spot.
- Check whether that spot has sun, an outlet, or a route for low-voltage wire.
- Install one light layer, then look from inside the house for glare.
- Add a second layer only if the first one leaves a real dark gap.
What to buy first
Buy warm outdoor string lights first only when there is a suitable outlet and a support line allowed by the product and structure. Otherwise, start with path or step lights where feet actually go, then add mood light later.