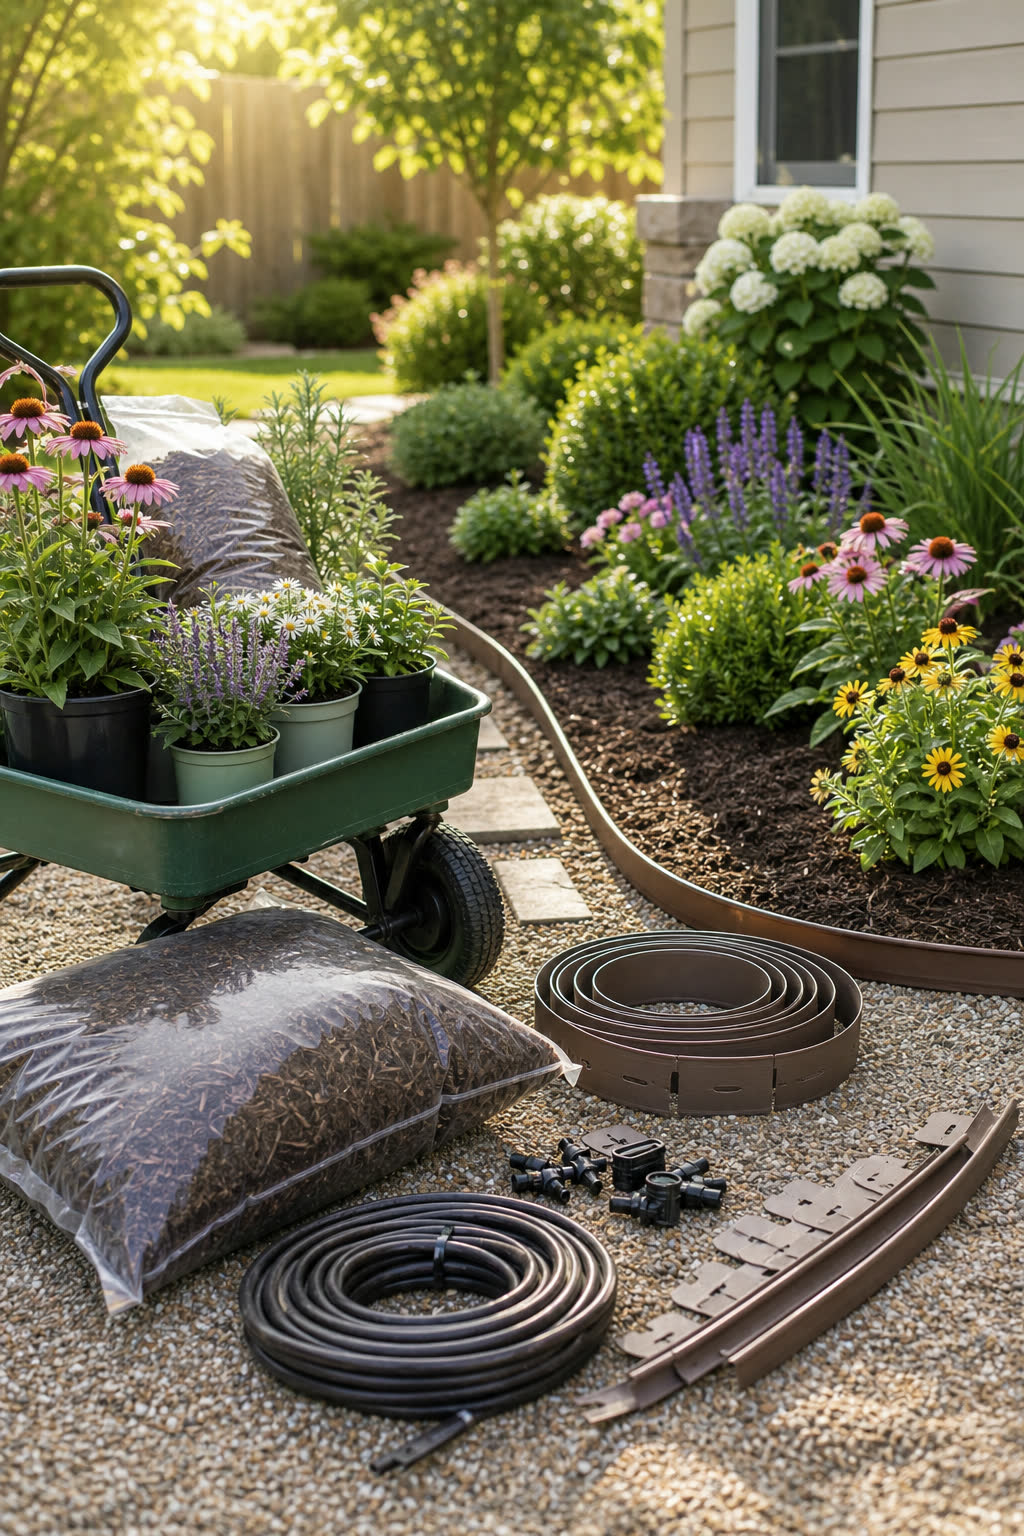
Mulch landscaping works best in a small yard when the bed has one clear edge, stays narrow enough to reach, and uses mulch that suits the plants. Measure the bed in square feet, decide the finished depth, and check how water reaches the back before buying bags, edging, or plants.
If you cannot reach the bed without stepping on the soil, make it narrower or add a small service path. If the plants need different sun or water, split them into separate groups. A clean layout removes more future work than a larger plant order.
Mulch landscaping ideas: choose the layout first
| Your space | Use this layout | Build first | Skip or change it when |
|---|---|---|---|
| Narrow strip by a fence or wall | One straight or gently curved border | A reachable bed edge and one watering route | The back is blocked or runoff collects at the wall |
| Unused lawn corner | One broad curve instead of several small pockets | The full outline, then the planting groups | The mower cannot follow the curve cleanly |
| Existing perennial bed | Open mulch between repeated plant groups | Weed removal and crown clearance | New shoots cannot emerge through a deep layer |
| Bed deeper than four feet | A narrow service path or stepping stones | Access before plants and mulch | You can reduce the bed depth instead |
Measure these five things before buying mulch or edging
1. Sun across the whole bed
Check the space in the morning, around midday, and late afternoon. A fence, tree, or house corner can split a small bed into different light conditions. Put plants with similar needs together instead of trying to make one watering plan serve every spot.
2. Reach from every open side
Oregon State University Extension recommends a maximum width of four feet for an adult bed that can be reached from both sides. A bed against a wall or fence needs to be narrower because only one side is open. Leave room to weed, divide plants, and check irrigation without standing on the planting soil.
3. The perimeter and the planted area
Measure the edge separately from the surface. The perimeter tells you how much edging may be needed. Length multiplied by average width gives a practical area estimate for a rectangular or gently curved bed. Split an irregular bed into two or three rectangles, then add the results.
4. Existing mulch and weeds
Pull back the top layer in several places. Measure what is already there before adding more. Remove weeds first. New mulch placed over a thick, matted layer can block water and air instead of improving the bed.
5. Water and runoff
Run the hose to the farthest point and watch where water moves after it reaches the soil. Do not use mulch to hide a low spot beside the foundation or a path that sends runoff toward a doorway. Fix the route or grade before planting.
Before another bag
Keep, move or remove the old mulch?
Do not cover an unknown layer. Open three small inspection spots: the lawn edge, between plants, and the wettest-looking area. Move loose material aside by hand. Record the mulch depth above soil, anything underneath, crown clearance and whether the soil is damp. Keep tools away from shallow roots.
Loose mulch; soil accepts water
Keep usable material. Rake it into a level layer without burying crowns. Measure again after moving it; calculate only the remaining shortfall.
No-buy result: the layer already meets the depth suited to these plants.
A crust or piled-up edge
Gently loosen the surface and redistribute excess first. Apply a little water to the inspected patch and watch whether it reaches the soil or runs sideways. This is an observation, not a drainage test.
Stop: persistent pooling needs a drainage check, not more mulch.
Plastic, fabric or stone underneath
Identify the layer before planting. In a bed you will divide or replant, plan accessible removal in the small area being worked on. Do not yank fabric entangled with roots or cut unknown buried lines.
Keep separate: clean reusable mulch, stone, plastic and weed material. Do not till an unknown mixture into planting soil.
Weeds rooted through the layer
Identify and remove the weeds before topping up. A new surface can hide spreading roots without solving them. Weeds growing on top of fabric do not mean the bed needs another sheet.
Next step: use the weed and tool fit check; do not dig blindly among perennial crowns.
Work one reachable section at a time. Around a large tree, unknown roots, utilities or a foundation moisture problem, get local guidance before excavating. New planting soil depth and mulch depth are different measurements.
Original three-zone calculator
Calculate the missing layer, not a fresh layer everywhere
Divide the bed where retained depth changes. Enter the exposed mulched area only: exclude stepping stones, paths and the clear spaces around crowns. Measure the retained layer after redistribution. For more than three zones, repeat on paper and add the unrounded volumes before rounding up the final bag count.
Illinois Extension's perennial guidance uses about 2 inches total, with air space at crowns. That is not a target for every species, shrub bed or wet site. Choose a plant-appropriate target first; this tool calculates volume only.
Why an even new layer overbuys in this example
The 24-square-foot zone lacks 1 inch, so it needs 2 cubic feet. One 12-square-foot zone is already at target and needs none. The other lacks 2 inches and needs 2 cubic feet. Total: 4 cubic feet, not the 8 cubic feet needed to put 2 new inches over all 48 square feet.
The bag result is a purchase quantity, not an instruction to empty every bag. Keep leftovers instead of thickening a finished zone. Recheck settled depth and crown clearance after spreading. Do not use extra mulch to level a hollow or hide a watering fault.
Starting from bare soil? Check the volume
For a genuinely bare, prepared area, multiply square feet by the chosen depth in inches and divide by 12. These are volume examples, not recommended depths for every flower bed.
| Bed area | 1-inch layer | 2-inch layer | 3-inch layer |
|---|---|---|---|
| 25 sq. ft. | 2.1 cu. ft. | 4.2 cu. ft. | 6.3 cu. ft. |
| 50 sq. ft. | 4.2 cu. ft. | 8.3 cu. ft. | 12.5 cu. ft. |
| 100 sq. ft. | 8.3 cu. ft. | 16.7 cu. ft. | 25 cu. ft. |
Do not use a general maximum as your target. For perennial flowers, start with plant-specific guidance and the existing-layer check. A deeper shrub-bed recommendation is not a reason to bury a perennial crown.
Choose the mulch by the job it must do
| Material | Useful for | Maintenance tradeoff | Skip it when |
|---|---|---|---|
| Wood chips or shredded bark | Perennial and shrub beds | Breaks down and needs a depth check before topping up | You replant the whole surface often |
| Compost | Improving soil around closely spaced plants | Decomposes faster than coarse wood mulch | You need a long-lasting path surface |
| Shredded leaves | Using clean material already on site | May mat if spread too thick or left in large wet clumps | The leaves came from diseased plants or an unknown treated source |
| Stone or gravel | Paths and areas where plants are not expected to spread | Does not improve soil and can increase heat | The bed will be replanted, divided, or changed often |
Five layout moves that reduce future chores
Use one readable edge
Several tiny islands create more perimeter to trim. One straight line or broad curve is easier to mow beside and easier to re-edge. Lay an old hose on the ground to test a curve before cutting soil.
Repeat plants with the same needs
Group plants that want the same sun, soil moisture, and seasonal care. Repeating a few suitable plants makes empty spaces and irrigation problems easier to see. Check mature width on the plant label so the first-day gaps do not tempt you to overfill the bed.
Leave a working strip at the edge
Keep mulch low enough at the lawn edge that grass and soil do not spill across the border. A visible edge makes touch-up work faster. It also shows where mulch has washed or been kicked out of place.
Add access before planting a deep bed
A stepping stone or narrow path is useful only when the bed cannot be reached from outside. Place it before mulch so it sits firmly and does not rock. If one step will not solve the reach problem, reduce the bed depth.
Keep crowns, stems, and trunks visible
Mulch should cover soil, not the plant. Leave a clear ring around stems and woody trunks. Check the same spots after rain or raking because loose material moves.
Tools that are worth comparing after the measurements
A hand edger is useful when the bed needs a cut soil edge. Measure the full perimeter first. Compare blade width, handle length, foot support, and replacement availability. Skip a powered edger for one short bed unless it solves another regular job.
Compare: Half-moon edgers for a clean bed lineCompare on Amazon
A small rake helps redistribute loose mulch after the old-layer check. Match head width to the narrowest plant gap and handle length to your comfortable reach. Skip it where tines would catch crowns or shallow roots; move that material gently by hand. A wide head suits open ground, not crowded perennials.
Compare: Landscape rakes that fit the planting gapsCompare on Amazon
A cart earns its storage space when bagged mulch or plants must travel farther than you can carry them safely. Measure the gate and the tightest turn, then compare the cart's outside width and loaded capacity. Skip it if the delivery point is beside the bed.
Compare: Compact carts for bagged mulchCompare on Amazon
A long bed may justify a simple soaker hose or drip line after the route is tested. Measure the faucet-to-bed route and time one careful hand watering. Do not automate one small bed if hand watering is already quick. If irrigation fits the layout, compare the included filter, pressure parts, fittings, and winter storage instructions.
Compare: Simple watering kits for one flower bedCompare on Amazon
Affiliate links. As an Amazon Associate I earn from qualifying purchases.
What to skip
- A plant order before the layout: mature spacing, sun, and water needs decide what fits.
- Fresh mulch over an unknown old depth: rake and measure several spots first.
- Mulch piled against plants: keep crowns, stems, trunks, and the root flare visible.
- Landscape fabric in a bed that changes often: roots, divisions, and new planting holes make it harder to maintain.
- Several decorative borders: every extra line creates another place for weeds and grass to cross.
A one-weekend setup order
- Mark the bed with stakes, string, or an old hose.
- Measure the perimeter, area, reach, sun, and water route.
- Remove weeds and correct obvious drainage problems.
- Cut or install the edge before bringing in mulch.
- Place plants at their mature spacing while they are still in pots.
- Plant, water the root area, then spread the measured mulch.
- Pull mulch away from crowns, stems, and trunks before the final watering.
A weekend is enough for one small bed when the outline and quantities are decided first. If drainage, buried utilities, a retaining wall, or a large tree root zone is involved, stop and get local guidance before digging.
Questions readers usually have
What mulch is best for a low-maintenance flower bed?
Wood chips or shredded bark are practical for many perennial and shrub beds because they cover soil and break down slowly. The right material still depends on the plants, climate, drainage, and how often the bed will be replanted.
How deep should mulch be in a flower bed?
Illinois Extension's perennial guide uses about 2 inches total and keeps crowns clear. Species and site conditions can require a different approach. Measure the retained layer first; use the calculator to find the shortfall, not to choose a horticultural target.
Should landscape fabric go under mulch?
Fabric can suit a stable non-planted path, but it complicates a flower bed that will be divided or replanted. Mulch also breaks down on top of the fabric, allowing new weeds to root in the upper material.
Can mulch touch plant stems?
No. Keep mulch away from stems, crowns, woody trunks, and the tree root flare. Moist material held against bark or stems can create decay and pest problems.
How often should mulch be replaced?
Check depth and condition instead of following a fixed calendar. Rake a matted surface and add only enough to return the bed to the appropriate depth. Organic material decomposes at different rates.
Sources and limits
The Illinois Extension perennial-care guide supplies the flower-bed depth and crown-clearance boundary. The three-zone calculator and keep/move/remove cards are Small Yard Starter's planning aids. Their example is invented; it is not a field trial or a product test.
Oregon State University Extension's raised-bed guide supports the four-foot maximum for a bed reached from both sides and the need to choose a width that allows easy access to the center.
Illinois Extension's guide to edging and mulching landscape beds supports the lighter treatment around perennial crowns, deeper shrub-bed mulch, flexible edging, and leaving access at the lawn edge. Penn State Extension's mulch comparison supports the material tradeoffs, mulch functions, and the need to check old depth before adding more.
These sources describe landscape principles. They do not confirm that a particular plant, edging product, irrigation kit, or mulch material fits your soil, climate, local rules, or buried-utility conditions.
Keep the rest of the yard plan simple
- Choose a low-maintenance backyard layout before adding another separate project.
- Compare drip irrigation with a soaker hose if watering is the repeated chore.
- Choose between a garden cart and wheelbarrow if mulch must cross a narrow route.
- Compare manual weed removal with herbicide before treating weeds around roots.